Sola(r)Dex Final
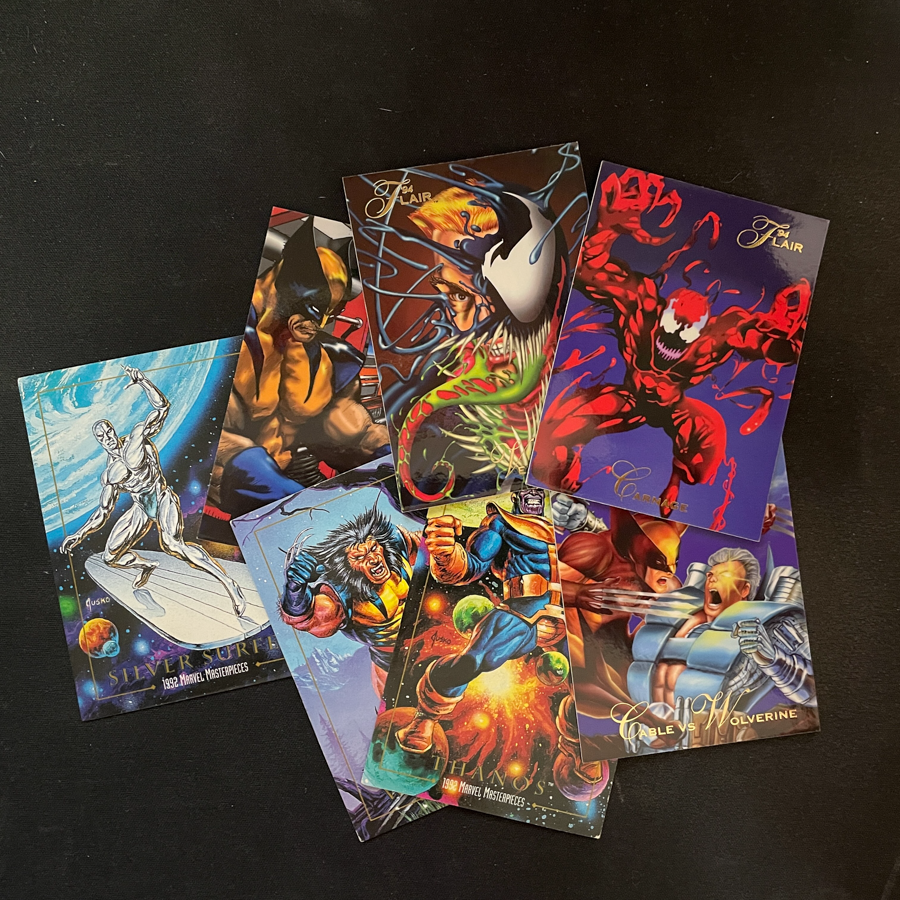
What do you do with all those trading cards you have lying around your house? I put them in boxes and forget about them. But the artwork is cool, I wish there was a away to display them… Enter the Sola(r)Dex, a fun, solar powered device that flips through a number of cards and randomly stops at one. What kind of magic is this you might ask, well its totally light magic! hahah! The suns radiation powers an analog circuit that alternates between illuminating a light bar and turning a geared motor.
I started by researching different circuits that could trigger an action without any user input. I cam across a few different circuits that would work in the fashion I wanted. The Schmidtt trigger, a MOSFET switch, a SIDAC, or an astable multivibrator. I settled on using the astable multivibrator, an in depth look at my research regarding that circuit can be found here. The basic Idea behind the circuit is to allow power to flow through on capacitor and output while another capacitor charges, the use of two 2n3904 NpN transistors are what allows this to function. The power input for the system in this case are four 8.5v 100mA solar panels. They are wired in a hybrid system two sets of two series panels wired in parallel. This allows for a 17v 200mA power setup.
This circuit oscillates between outputs, in this case an LED bar of ten individual diodes and a motor. While the motor is stopped the LEDs light to show the state of the circuit, when the capacitor for the motor is charged the motor turns while the LEDs are off. This cycle repeats in perpetuity as long as there is power to the system via the solar panels.
After the circuit was finalized and working I turned my attention to the design of the Sola(r)Dex itself, I iterated on a few different designs from pulley driven, a horizontal layout, and finally arriving on a vertical direct drive mechanism. The solar array is a remote unit so it can be placed in an area with sun exposure and the Sola(r)Dex placed in another location. I 3D modeled a few parts to mount the motor, the panels, and the carriage for the cards. These were then printed and cured. I decide to use cast concrete for the bases of both the Sola(r)Dex and the Panel unit for stability and I think it looks good hahaha. Other parts include a protoboard, aluminum tubing, and some hardware. A full BOM is provided at the end of this post.


