Light at the end of the errr…Light?
It’s the final countdown… For the final project of PCOMP I wanted to work with light and movement. This idea was hatched from two different project ideas. One having to to with using lenticular lenses and changing the spacing to in turn changing an image. The question “do I want to make a light?” And here we are, I am making a light. Don’t get me wrong, I really enjoy lighting projects and as an industrial designer I have work on a number but none have been interactive in the way I hope this one will be.
The concept revolves around lenticular lenses. Lenticular lenses have many paradelle grooves etched into the surface. When used in a traditional way they can “animate” a still image.


My goal is to change the light quality when the lenticular lenses change orientation and to be able to adjust brightness. Originally I wanted to make both of these operations use gesture control however, I have come to find out that gesture with a small sensor is flakey at best. After working for what seemed like days it became apparent that the use of gesture to control the functionality of the lamp would lead to frustration on the end user’s part, and that is not good design. Interaction is a very important part of how design plays a part in our everyday life. To see if my inclination was correct I play tested the interaction with a few users. All user had the same response to the system. It was hard to use, unpredictable, and didn’t really function well. Just because the thought of an interaction seems cool doesn’t make the right choice if the functionality is lost.
#include "Stepper.h"
#include "Adafruit_APDS9960.h"
Adafruit_APDS9960 apds;


const int stepsPerRevolution = 1026;

Stepper myStepper(stepsPerRevolution, 9, 10, 11, 12);

void setup() {
  // set the speed at 60 rpm:
  myStepper.setSpeed(10);
  // initialize the serial port:
  Serial.begin(9600);

  if (!apds.begin()) {
    Serial.println("failed to initialize device! Please check your wiring.");
  }
  else Serial.println("Device initialized!");

  //gesture mode will be entered once proximity mode senses something close
  apds.enableProximity(true);
  apds.enableGesture(true);
}

void loop() {
  // step one revolution  in one direction:
  uint8_t gesture = apds.readGesture();
  if (gesture == APDS9960_DOWN) myStepper.step(100);
  if (gesture == APDS9960_UP) myStepper.step(-100);
  if (gesture == APDS9960_LEFT) myStepper.step(513);
  if (gesture == APDS9960_RIGHT) myStepper.step(-513);
}
This is the code I used for the gesture sensor. I was using the Adafruit APDS-9960 for gesture control. Up or down was to incidentally change the position of the stepper and left or right was to bring the stepper to either end of the travel. There was about a 50% failure rate with gesture control. I also need to set a limit for the stepper since I was really only using 90 degrees of rotation. I tried to do this with a variable to keep track of the number of increments the motors had turned but could never get it work correctly with the gesture. I’m not sure why but the counter variable never changed when the action occurred. I switched to a potentiometer just to see if it was an issue with code or something to due with the sensor. I was able to get the counter to work with the potentiometer but I’m still not satisfied that my code was the problem while using the gesture sensor.
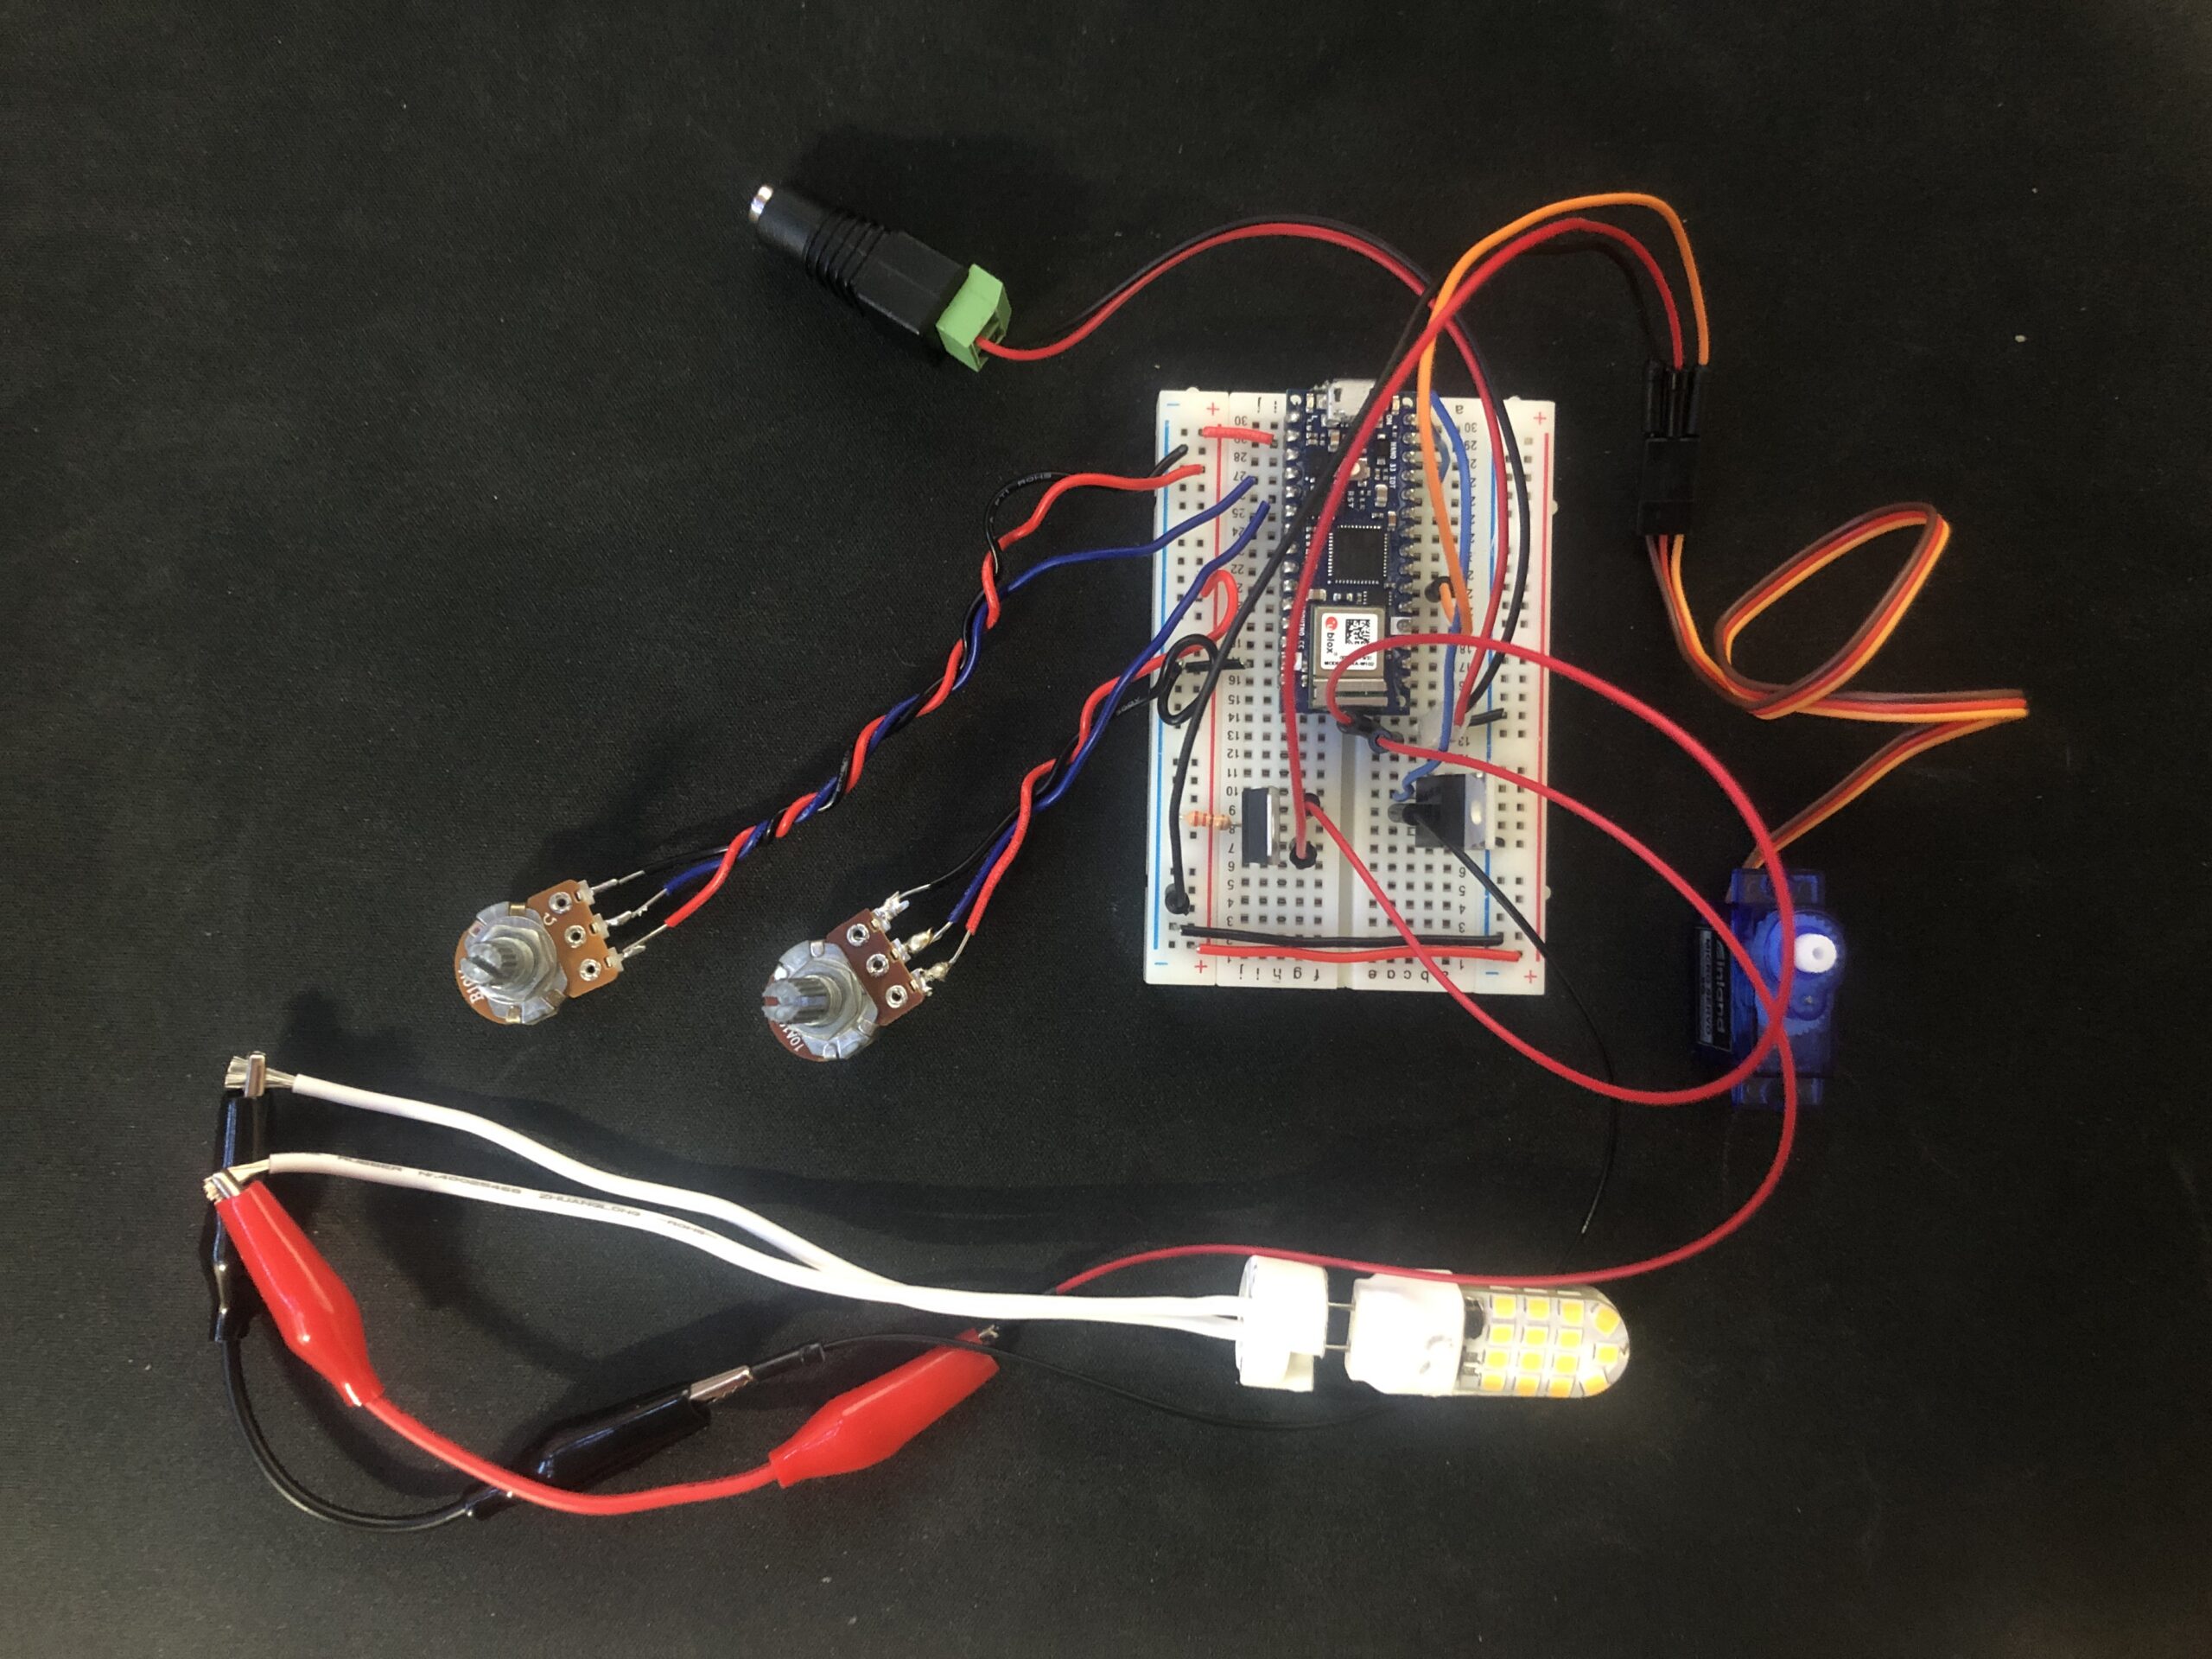
After much struggle and testing I have decided to make two changes, I will be using a servo instead of a stepper. This actually makes more sense since the servo I chose is limited to 90 degrees of rotation, this alleviates the need for either code based limits or the use of a limit switch. I could have used a limit switch in this situation but ultimately space is at a premium inside the lamp housing and using the servo reduces need space overall. The other change is to abandon the gesture control as the interaction was more frustrating that it was worth. I instead will be using two rotary potentiometers for control of the brightness and the light quality. I considered using capacitate touch pads for both actions but I was unable to acquire them in time to prototype this integration and make the needed changes to the physical object.
#include <Servo.h>

Servo servoMotor;
int servoPin = 3;
const int transistorPin = 9;    // connected to the base of the transistor

void setup() {
  Serial.begin(9600);
  pinMode(transistorPin, OUTPUT);// set  the transistor pin as output:
  servoMotor.attach(servoPin);
}

void loop() {
  int analogValue = analogRead(A1);
  int servoAngle = map(analogValue, 0, 1023, 0, 90);
if (millis()% 20 <2) {
  servoMotor.write(servoAngle);
}
 // read the potentiometer:
   int sensorValue = analogRead(A0);
   // map the sensor value to a range from 0 - 255:
   int outputValue = map(sensorValue, 0, 1023, 30, 255);
   // use that to control the transistor:
   analogWrite(transistorPin, outputValue);
   Serial.println(outputValue);
}
The above code is what I’m currently using to drive the functionality of the lamp.
The final step in building the circuit is to make it so it runs off a single power supply. Currently I have both the servo and the lamp running off of a DC power jack and the Arduino Nano is running from USB power. This should be fairly straight forward to accomplish.
To be continued in my next post…
