3 Step Switch

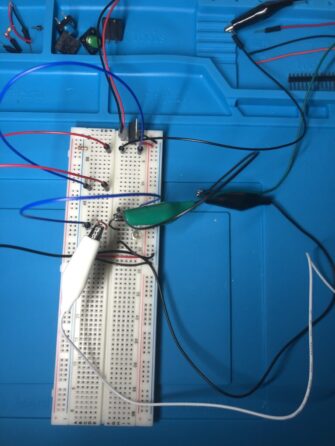
The video shows one step one of the switch, the desk lamp is raised into working position. Two wires run up the back of the lamp and a patch of copper tape was applied to the top of the lamp arm. When the lamp arm is raised the wires contact the copper tape and complete the switch.
The next component is the drawer switch. When the drawer is opened the switch is closed completing the circuit. Again I used copper tape and wire to complete the switch, the copper take is placed along the top edge of the drawer leaving a gap of 1 inch at the front. This allows one wire to rest off the tape when the drawer is closed. When the drawer is opened the front wire to contact the copper tape and complete the circuit.
The next and final component is a pressure switch that is activated by placing a cup on a coaster. This video contains all three elements in the switch wired in a series so that all actions must be completed for the LED to light. For the most part this was a fairly simple project, the hardest parts was extrapolating out how the momentary push-button switch worked in terms of the current flow. (The video containing the success with the momentary switch is below.) After figuring this out it was just a batter of running the wires and assembling the final configuration.
Here you will find an assortment of images related to how I created this 3 Step Switch. Please comment and question.


